
What Is UV Printing?
UV printing uses ultraviolet light to cure (dry) specially formulated UV ink as it's applied to a surface. Unlike sublimation, which requires heat-sensitive coatings, UV printing works on a wide variety of materials — from ceramics and wood to plastics and metals.
The eufyMake E1 brings this technology to consumers at an accessible price point, making it possible to print vibrant, durable designs on everyday objects right from your desk.
💡UV vs. Sublimation
If you're coming from sublimation printing, the key difference is this: UV ink sits on top of the surface and is cured by UV light, while sublimation dye is absorbed into a special coating. This means UV can print on many more materials, but adhesion varies by surface type.
Unboxing and Setup
The E1 ships fully assembled, so setup is straightforward. For the full step-by-step instructions, follow the official manufacturer guides:
- eufyMake E1 Installation Guide — covers unboxing, ink cartridge loading, and hardware setup
- Device Binding, Initialization & Calibration Guide — covers connecting the printer to your account and running the initial calibration
At a high level, you'll:
- Unpack the printer and check that all accessories are present (ink cartridges, power adapter, USB cable, and any included test materials).
- Load the UV ink cartridges into the correct slots — the E1 uses CMYK, white, and gloss inks.
- Download the eufyMake app on your phone or tablet and follow the in-app instructions to bind your device, connect to Wi-Fi, and complete the initialization and calibration process.
Choosing Your First Material
For your very first print, we recommend starting with something flat, smooth, and light-colored:
- Ceramic magnets are ideal — small, inexpensive, and great for testing designs
- Ceramic coasters are another great option — flat, easy printing, and make great gifts
- Mugs and tumblers are possible but require the optional rotary accessory for printing
Unglazed Ceramic Coasters with Cork Backing
Unglazed ceramic tiles with cork backing. The matte surface takes UV ink well, creating vibrant, durable prints.
🔴Avoid Sublimation Blanks!
Regular sublimation blanks (with a glossy poly coating) are NOT suitable for UV printing. The UV ink won't adhere properly and will scratch or peel off. Look for powder-coated, unglazed, or raw material surfaces instead.
Your First Print: Step by Step
- Prepare your design in the eufyMake software. For your first attempt, use a simple, colorful image.
- Place your material on the printer bed. Ensure it's flat and centered. The camera helps with alignment, but the further you get from the center, the less accurate it is.
- Take a snapshot to automatically measure and capture an image of your material, allowing you to size and position your design with ease.
- Choose your ink configuration in the software — options include CMYK only, white + CMYK, white only, and gloss, among other combinations. For printing on non-white materials, white + CMYK is usually the right choice to get vibrant colors.
- Start the print. The UV LEDs cure the ink as it's applied, so prints come out of the printer already dry. Any residual tackiness should be completely gone within 24 hours.
Tips for Success
- Materials need to be flat to work properly. The software will inform you of the maximum possible height variation, but for beginners, it's best not to press your luck. Be careful of anything sticking up above the surface of the object (like a piece of tape), which will throw off the laser measurements.
- Leave your printer plugged in — it performs frequent automatic maintenance to keep the print head from clogging. (Get used to some sound effects)
- Sticky mats are consumables: overspray will leave ink residue that eventually renders the mat unusable. You can extend its life by covering it with tape, sticky side up. We like to use vinyl transfer tape for this.
- Use white ink as a base for non-white materials to get vibrant colors.
- Clean surfaces with isopropyl alcohol to remove any oil or grease that can prevent the UV ink from adhering properly.
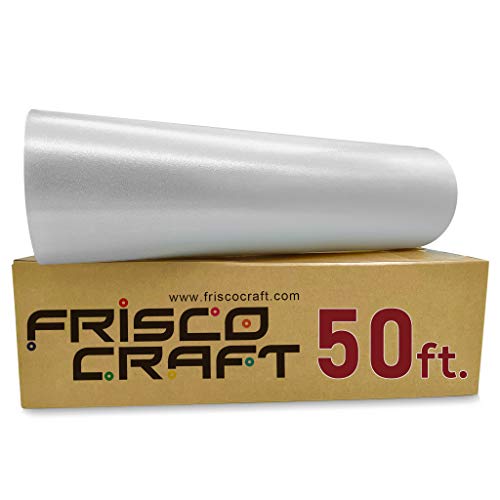
Frisco Craft Clear Transfer Tape Roll (12" x 50 ft)
Clear see-through tape for protecting your E1 print bed's sticky mat from UV ink overspray. Comes in a roll so you can cover a large area in one strip — no piecing together strips of masking tape. Also useful for its original purpose if you have a vinyl cutter.
Next Steps
Now that you've made your first print, check out our guide on the best materials for UV printing to expand your material library:
- Browse our Materials Directory for curated, compatible blanks
- Read our Best Materials Guide for in-depth recommendations
- Watch our video reviews for product and printing ideas
Welcome to the UV printing community!
